Thanks for all the positive feedback on the previous week, but I am still fine-tuning the system, so help and ideas are more then welcome.
I will try and upload as many different type's of files. That means that I can't satisfy every one every week. (poll added to this topic to give me a better idea for next week)
-1 Download the raw file
-2 Edit the raw file
-3 And upload your results in this topic (and other information like software and settings)
Full rights remain to the photographer, for educational purposes only!!
https://www.wetransfer.com/dl/Ln2JvND1/ ... 8b4224d68a
10.3 MB
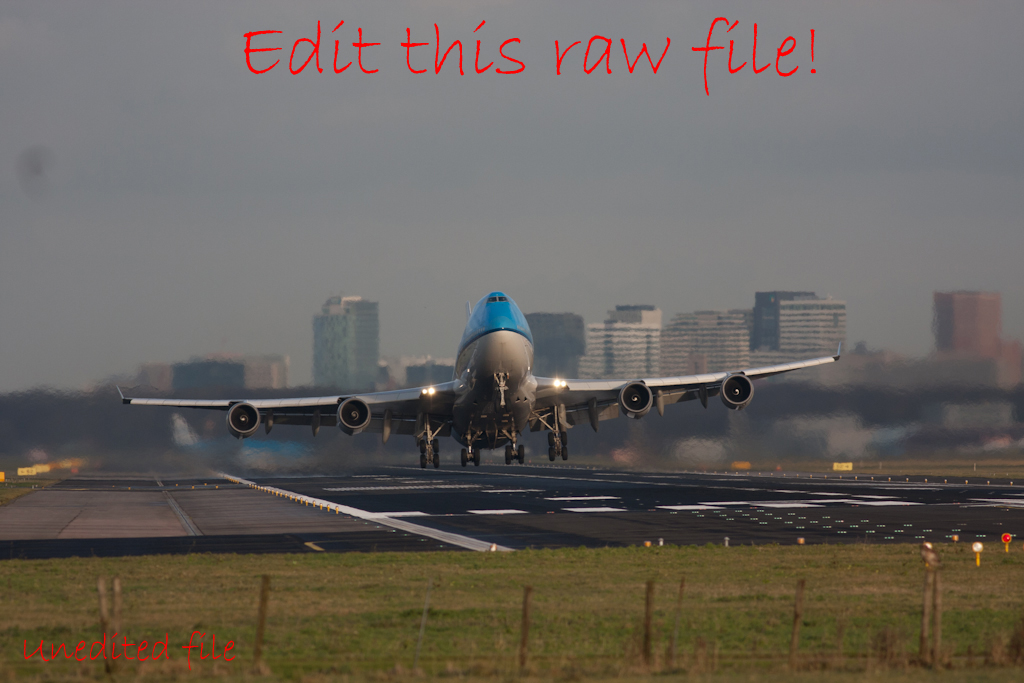
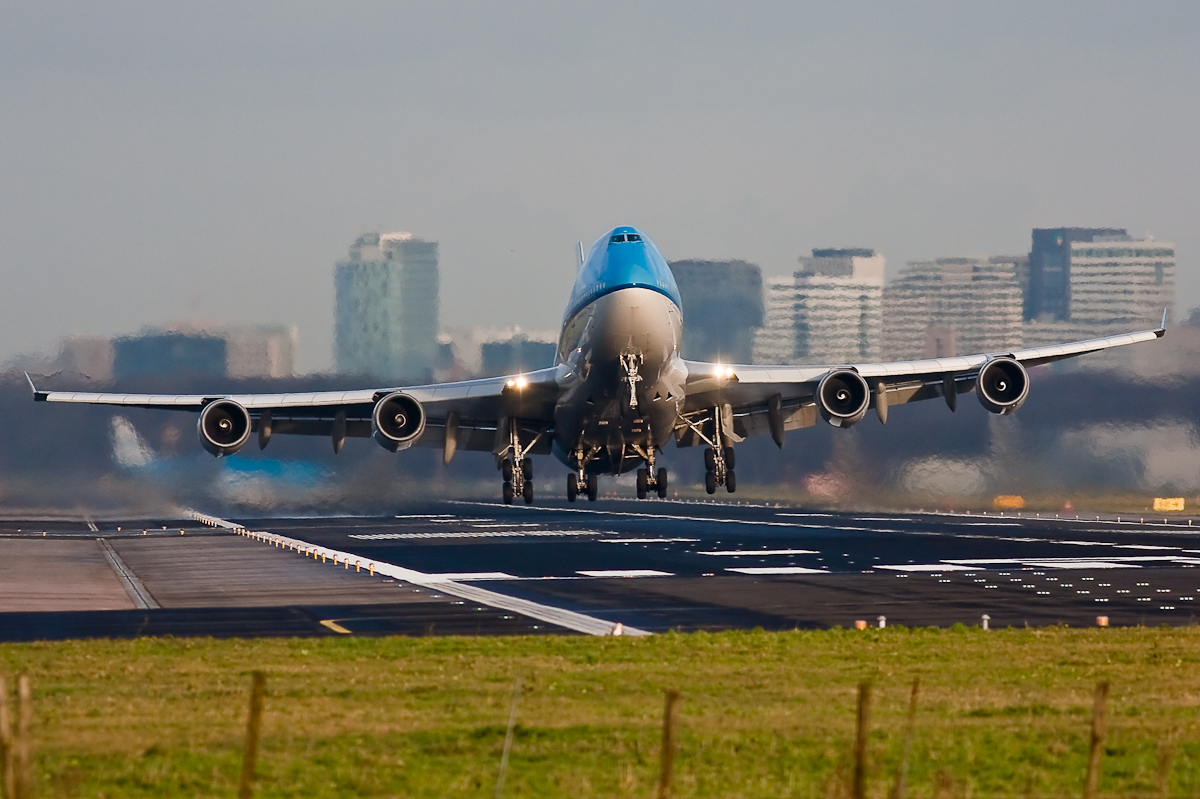
Edit this raw file by LarsVeling, on Flickr
I am looking forward to all of you work this week!
Yes I know my sensor was a bit dirty
New download link added


/freeflight.gif)